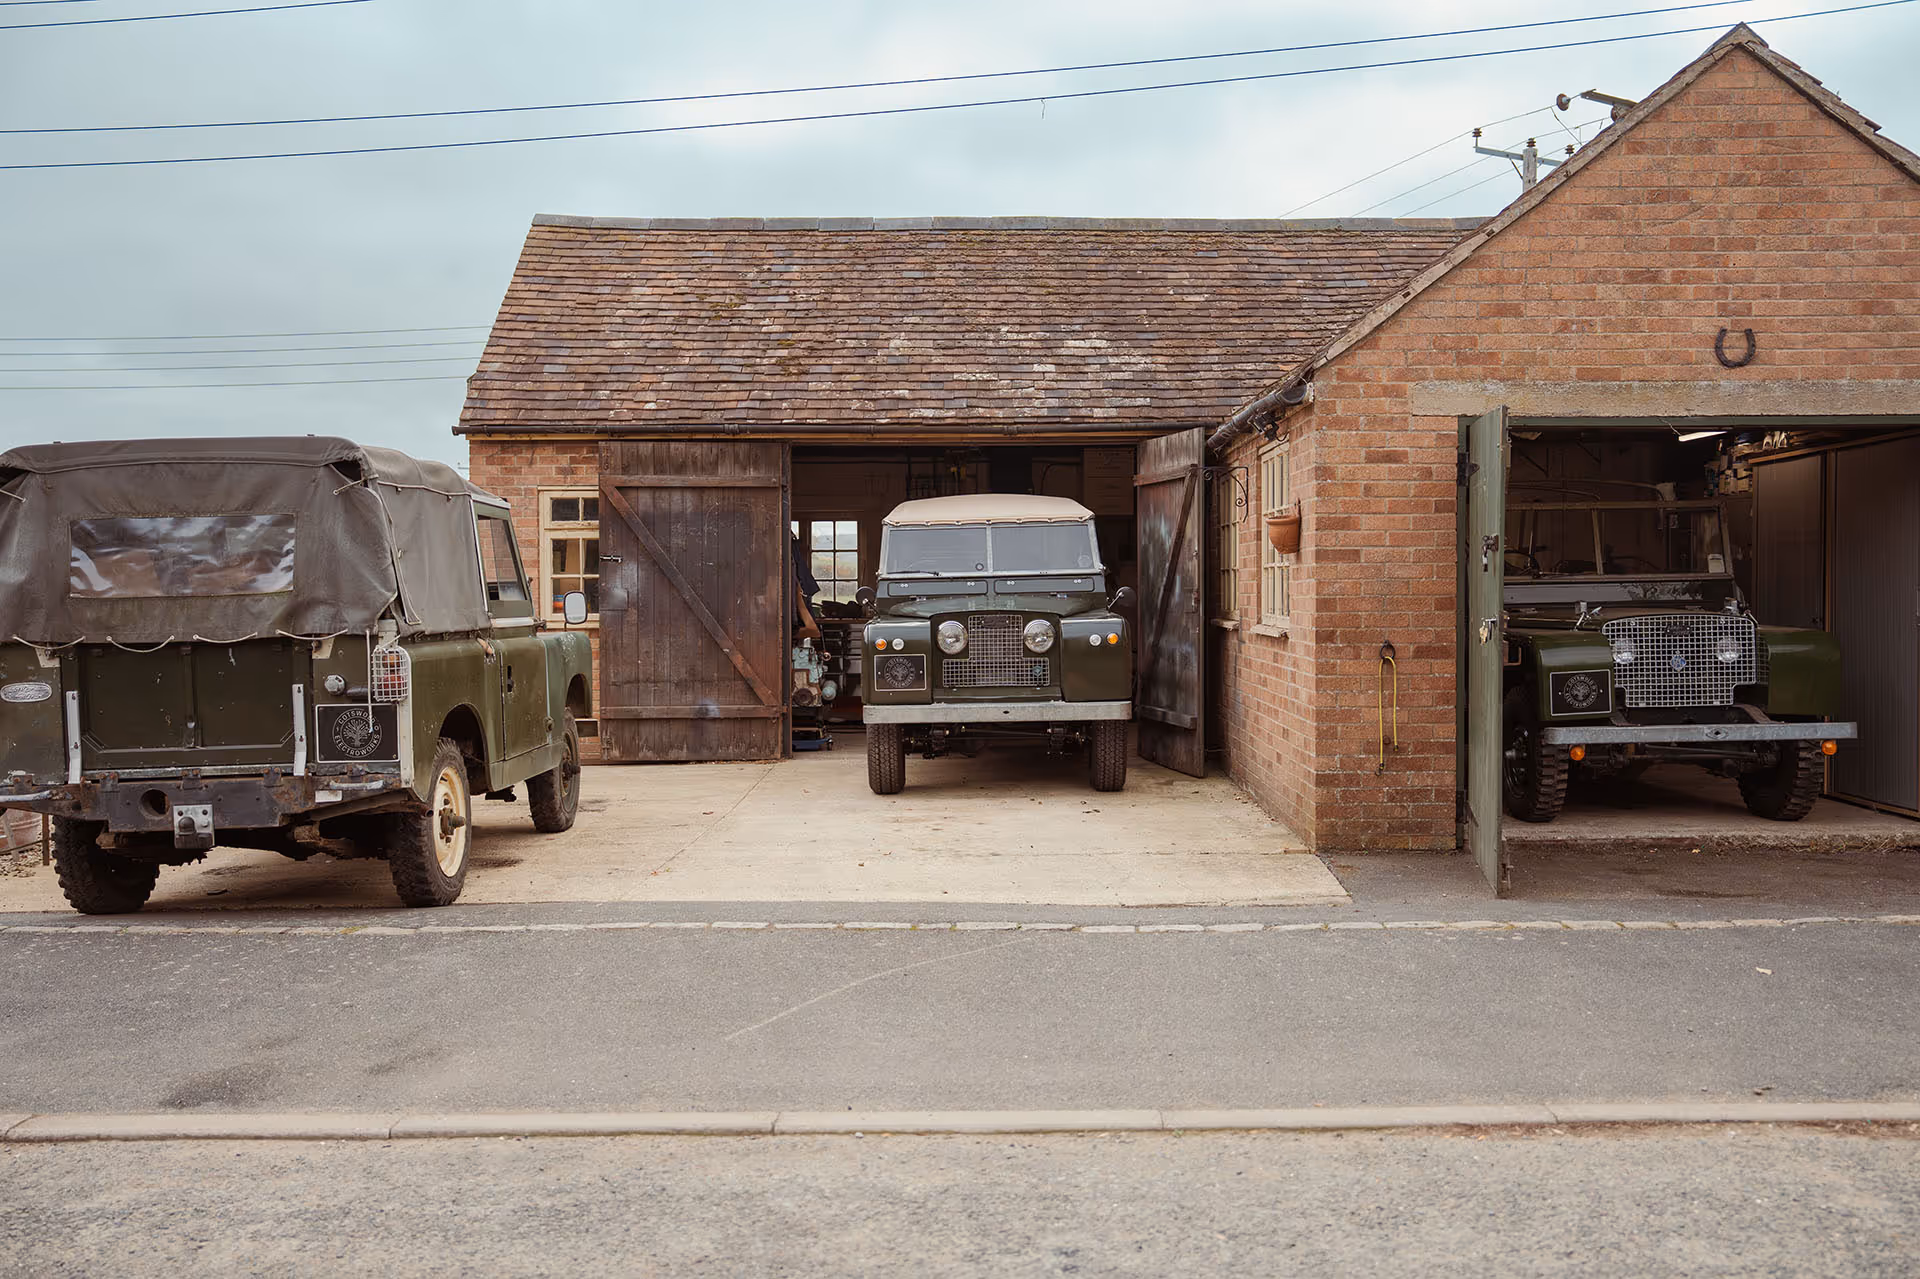
A closer look at our build process.
At CE, every conversion follows a 4 step process
1. Inspection
We first take the client vehicle into the workshop and give it a thorough clean and inspection. This gives us a firm understanding of the structural and mechanical condition of the base vehicle. Any immediate concerns and remedial works required to facilitate the conversion are discussed with the owner. Electric conversions add significant power and torque to the drivetrain. We must be satisfied that the vehicle is in a state to handle its new power!Likewise, any upcycled OEM parts and batteries destined for the vehicle are given a thorough service and check, with the results logged.
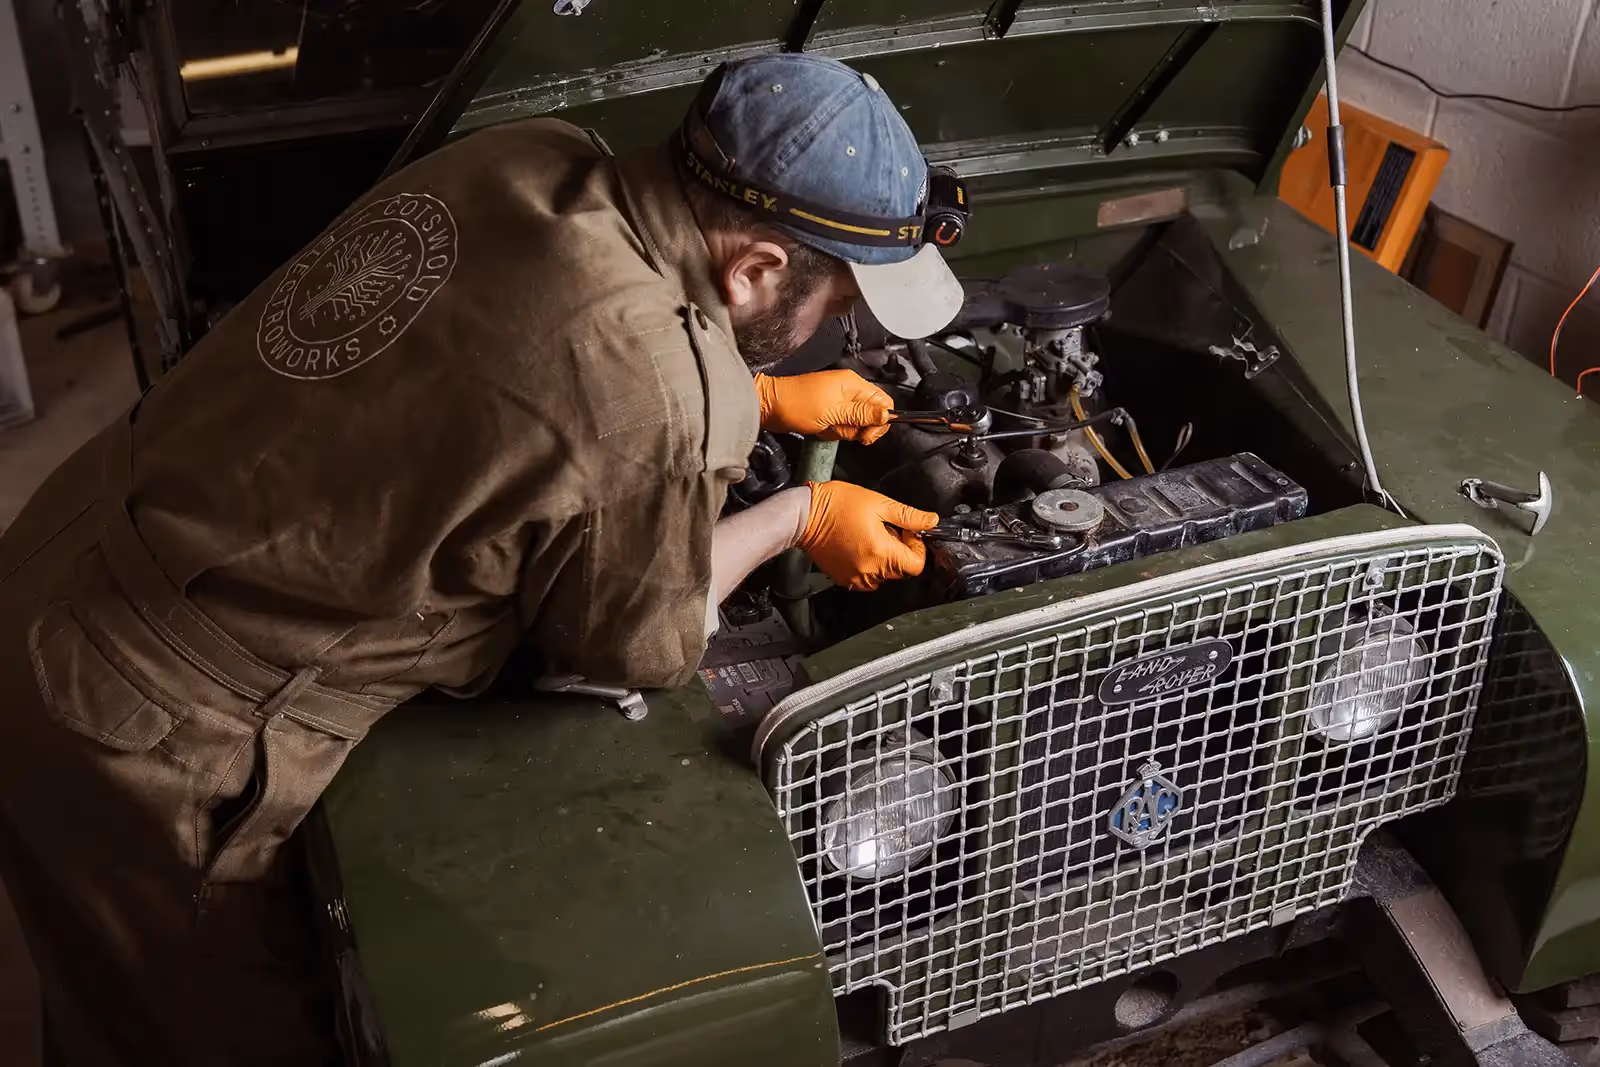
2. Preparation
The preparation stage is the act of physically prepping the vehicle to receive its new electric heart. This typically involves:
- Stripping out the combustion engine, fuel, cooling and exhaust systems
- Further cleaning to access the areas previously occupied by the above
- Ensuring all remedial works required are carried out - this could be patching the odd bit of rust, repairing a decayed wiring loom or even replacing brake lines
- Checking measurements and clearances – every Land Rover is different, so we need to make sure all the holes and brackets we need are in the right places on the chassis.
- Whilst the above is occurring to the Land Rover, the new electric drivetrain components are assembled in their final configuration on the test bench and tested for functionality. Battery boxes are assembled, balanced, charged and tested. The motor is spun up on the bench. Basic programming is undertaken.
- Once all this is done, we can move onto the exciting bit….
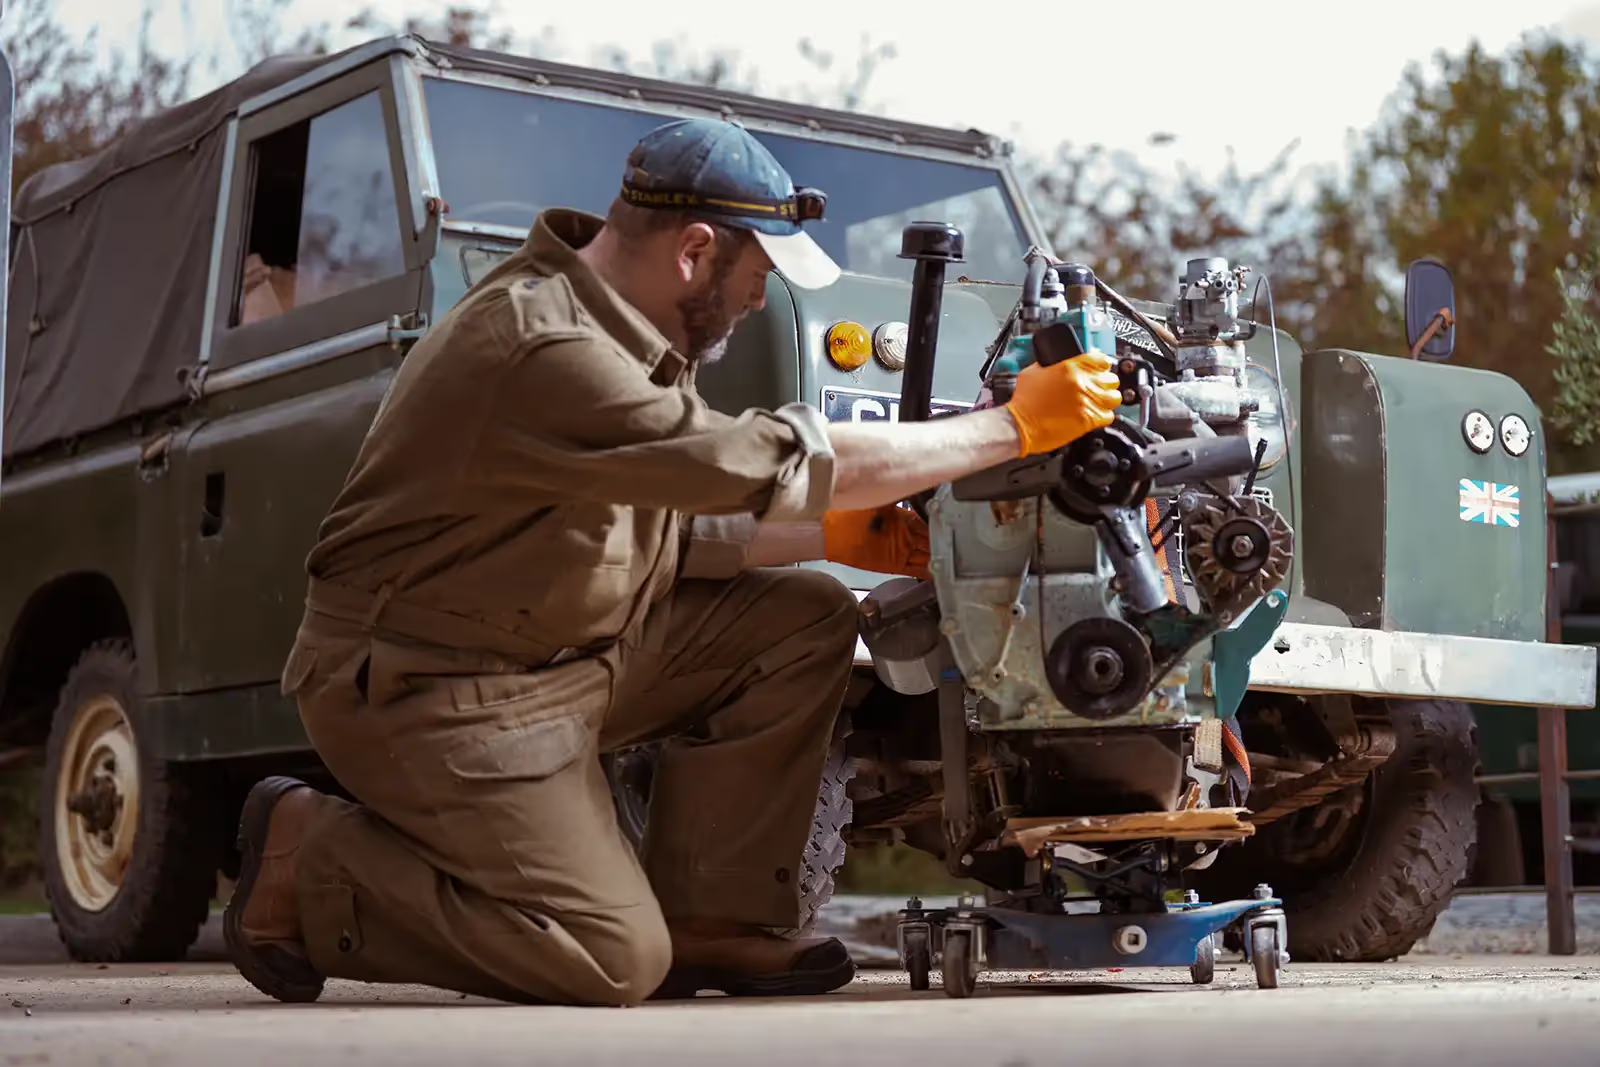
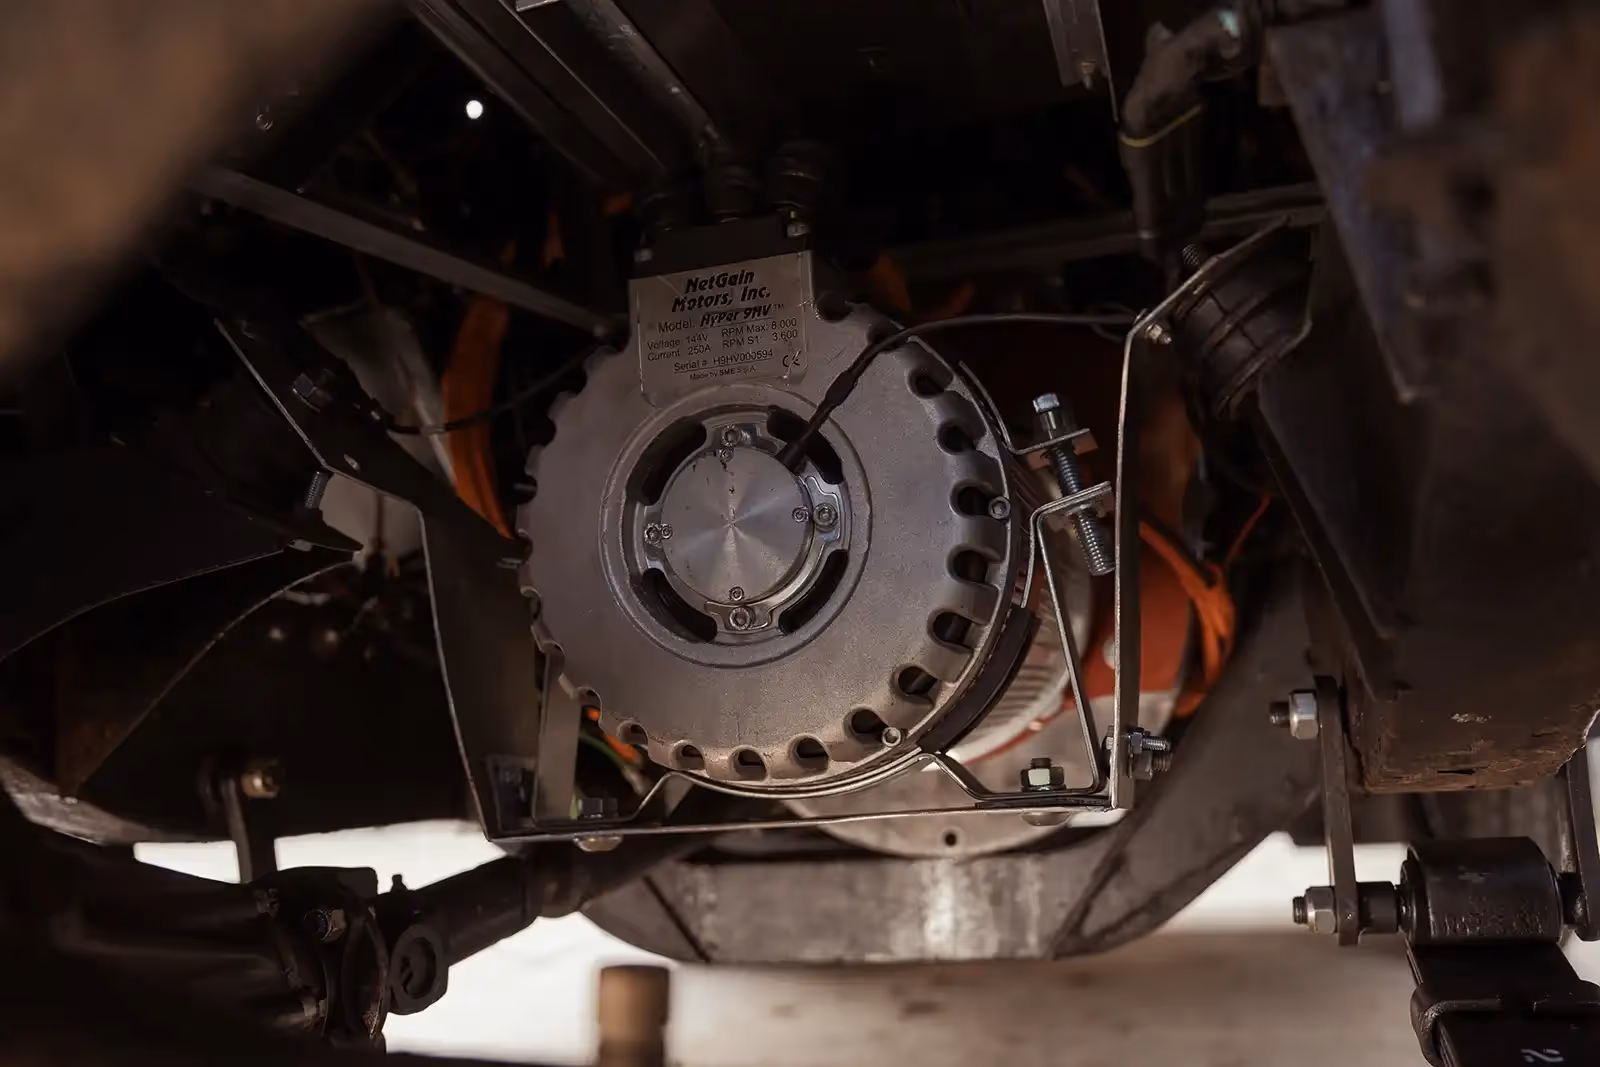
3. Installation
Where the magic happens!
- The electric motor is attached to the Land Rover gearbox and clutch, sitting on the original engine mounts.
- The battery boxes are winched into position on the chassis and bolted down
- The on-board charger (OBC), charging socket and DC-DC converter are installed
- High voltage and low-voltage cables are run to enable everything to be connected up
- The new cooling and heating pipes, along with their reservoirs and heat exchangers are installed in the engine bay
- Also in the engine bay, the motor control circuits are connected to the accelerator pedal and
- The control circuits are brought online in sequence, testing functionality of all safety cutoffs and contactors whilst the HV battery is still disconnected.
- With all safety checks completed, the HV battery is connected and we power up!
- At the same time as the electrical conversion, any client-specified works will also be completed (uprated brakes, suspension etc)
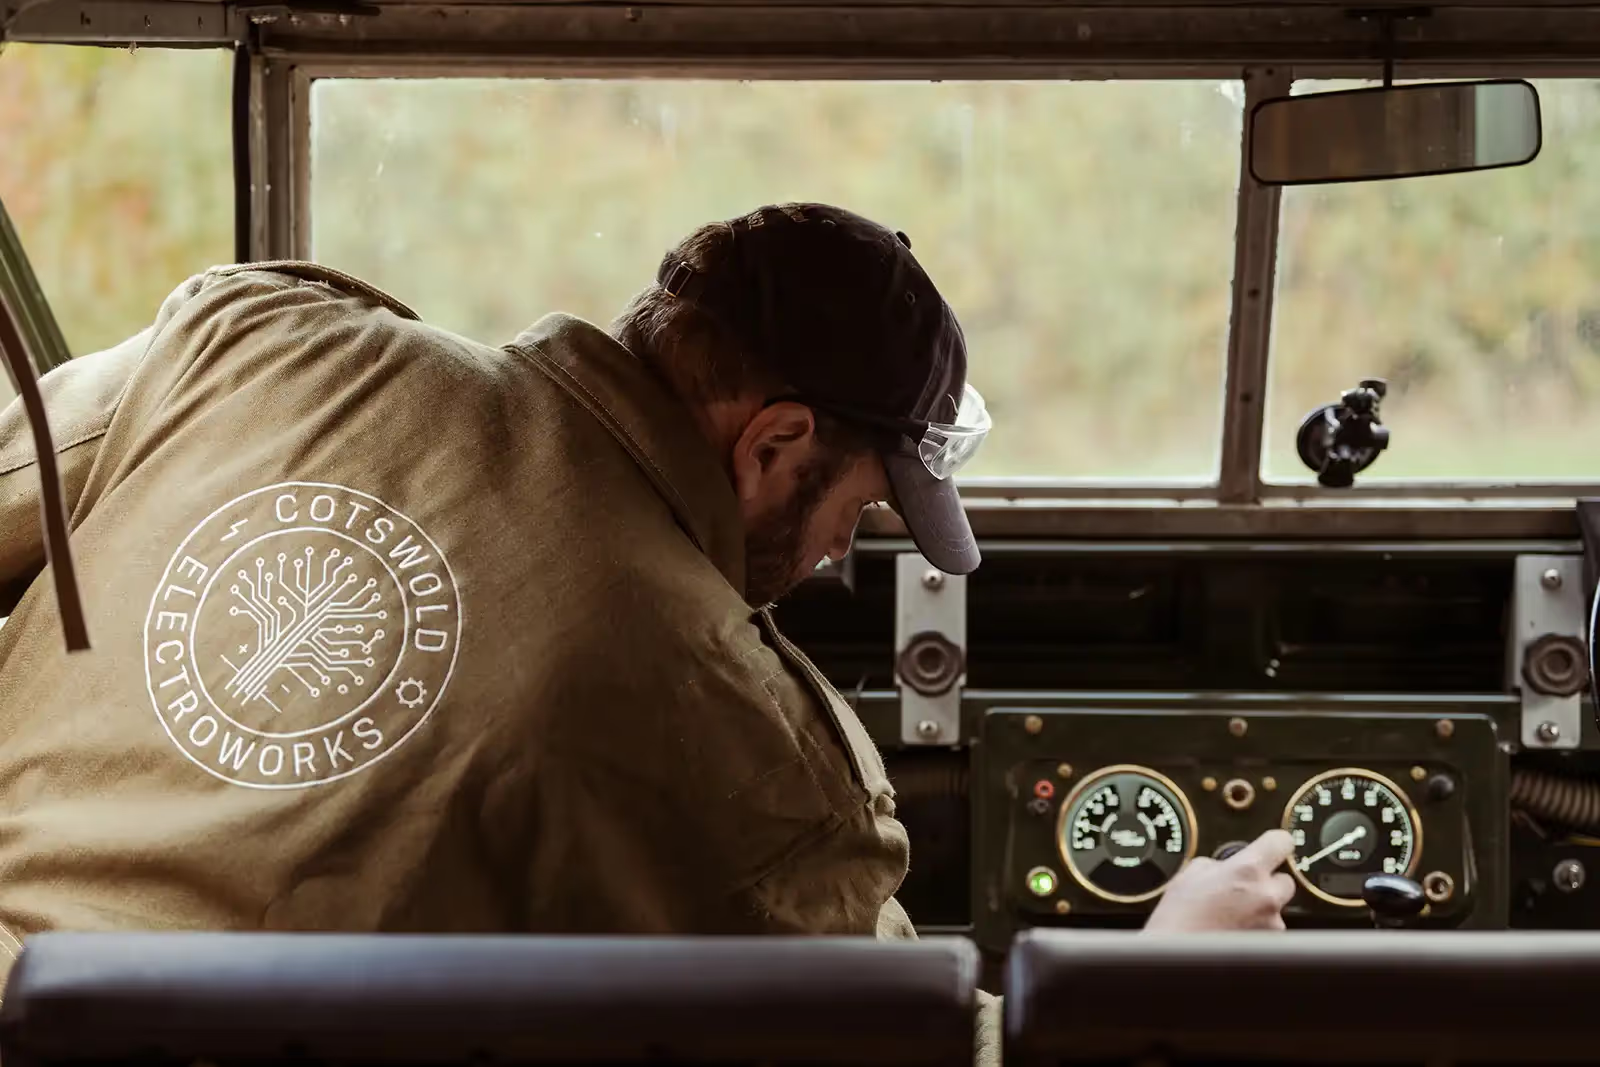
3. Testing
The last phase, but crucial!
- After power-on. The vehicle undergoes rigorous testing whilst still “wheels up” on the ramp. This is to ensure that everything (both electrical and mechanical) works as intended before going out for the first drive.
- First drive – taking the vehicle out for the first time! Again, just making sure everything behaves as it should.
- Further testing – we embark on our test regime which includes cycling the battery through several charges and discharges to ensure we’re happy with the chemistry in the battery pack.
- Compliance – as soon as we’re happy with the vehicle. The vehicle is presented to the DVLA for the official stamp of approval. The vehicle is officially re-registered as electric and a new V5 is issued.
- The vehicle is presented for MOT.
- Handover to a happy customer! We brief the client about their new converted Land Rover